


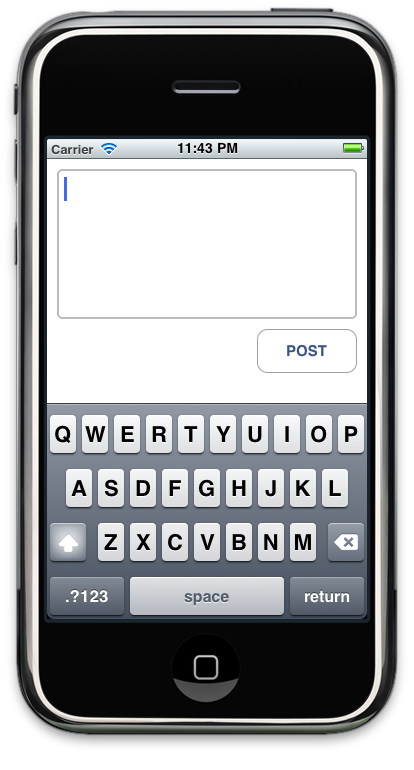
前回の記事でTwitterに投稿するところまで実装ができましたが、
windowの遷移
windowを閉じる
Twitterに投稿したあとに、
以下のコードを追加します。
postButton.addEventListener(
    'click',
    function () {
        if ( textArea.value ) {
            tweet( textArea.value );
            win.close(); //この行を追加
        }
    }
);
これで 投稿が完了すると、
windowを開く
さて、
windowを開くコードを少し書き換えてみましょう。
messageButton.addEventListener(
    'click',
    function () {
        var messageWindow = Ti.UI.createWindow(
            {
                url: 'message_window.js',
                title: 'message',
                backgroundColor: '#fff'
            }
        );
        Ti.UI.currentTab.open(messageWindow); //ここを変更
    }
);前回のコードからwindowを開く部分だけが変更されています。前回の記事ようにmessageWindow.

Ti.UI.currentTab.open(messageWindow,{animated:false});と指定することでこのアニメーションは無効にすることができます。
windowを閉じるときも同様で、
postButton.addEventListener(
    'click',
    function () {
        if ( textArea.value ) {
            tweet( textArea.value );
            win.close({animated:false}); //この行を変更
        }
    }
);
とすることでアニメーションを制御できます。
TabGroupに要注意
ここで説明した、
- ナビゲーションバーを表示しつつ
- 画面遷移をアニメーションする
という実装は、
Titaniumでアプリを作成する際には、
ツイートの詳細を表示する
ツイートの一覧がでるだけでは物足りないので、
    }
    tableView.setData(currentData);

    tableView.addEventListener(
        'click',
        function(e) {
            var tweet = timeline[e.index];
            var webWindow = Ti.UI.createWindow(
                {
                    url: 'tweet_window.js',
                    status_id: tweet.id_str,
                    screen_name: tweet.user.screen_name
                }
            );
            Ti.UI.currentTab.open(webWindow);
        }
    );
}
table_
createWindowで渡しているオブジェクトの任意のパラメータ
urlパラメータで指定してるtweet_ 少ないコードですが、 上記の変更を加えるとツイートをクリックしたときに、 Titaniumにおけるwindowの遷移について解説しました。TabGroupを利用することでナビゲーションバーを使った遷移が簡単になることも説明しました。この方法はよく利用することになるので、var win = Ti.UI.currentWindow;
var permalink =
'http://twitter.com/' + win.screen_name
+ '/status/' + win.status_id;
var webView = Ti.UI.createWebView(
{
url: permalink
}
);
win.add(webView);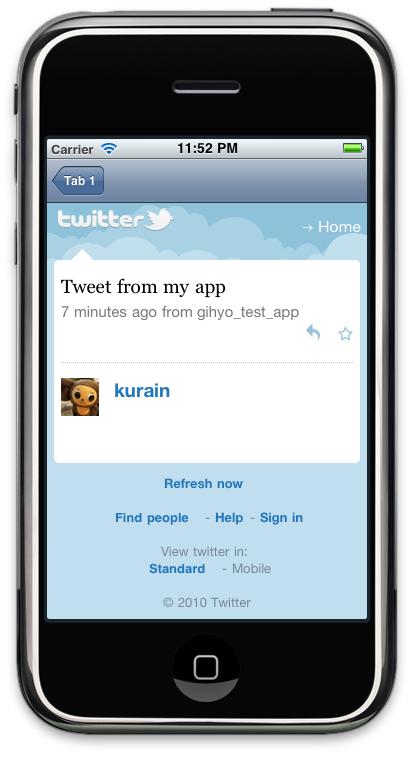
まとめ