今回はNSISを利用し、
NSISとは
NSISは、
今回は、
正直なところNullsoftの現状はよくわからないのですが、
UbuntuとNSIS
NSISはオープンソースライセンスで提供されています。そして、
それ以前にUbuntuでNSISを使用するメリットを明確に説明せよと言われると、
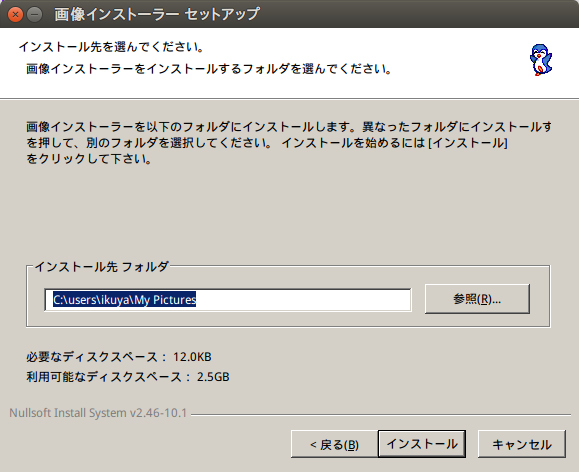
サンプルスクリプトその1:画像インストーラー
まず簡単なサンプルとして、
以下のコードをファイル名"image-installer.
次のコマンドを実行して、
makensis image-installer.nsi
今回のコードはサンプルスクリプトに多少の手を加えたものです。コメントも多いのでわかりやすいと思いますが、
!include "MUI2.nsh"ここではModern UI 2.
;Name and file
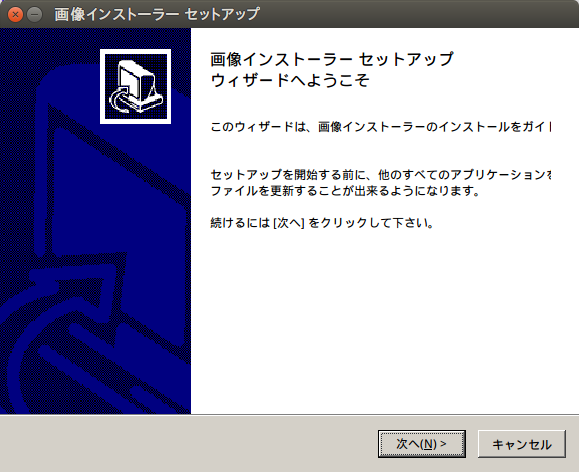
Name "画像インストーラー"
OutFile "image-install.exe"
;Default installation folder
InstallDir "$PICTURES"インストーラーの名前と実行ファイル名とインストールフォルダーを指定しています。インストールフォルダーは前述のとおりWindowsのバージョンにより異なっているため、
  !define MUI_ABORTWARNING
  ;!define MUI_ICON "penguin.ico"
  ;!define MUI_UNICON "penguin.ico"
サンプルスクリプトではコメントアウトにしていますが、
なお、
;Pages
!insertmacro MUI_PAGE_WELCOME
!insertmacro MUI_PAGE_DIRECTORY
!insertmacro MUI_PAGE_INSTFILES
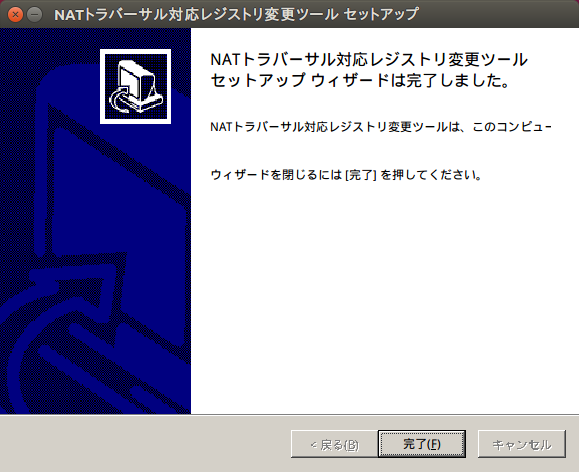
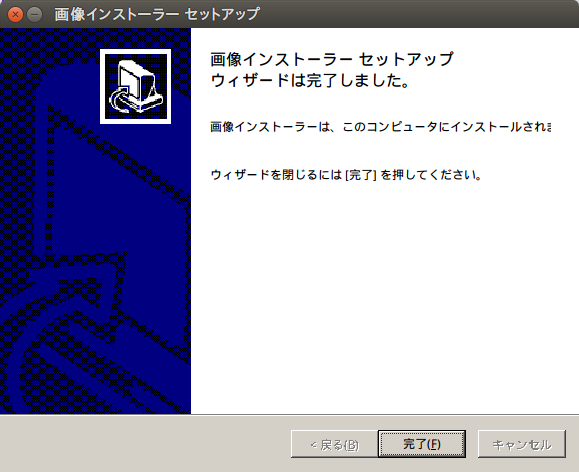
!insertmacro MUI_PAGE_FINISH
!insertmacro MUI_UNPAGE_WELCOME
!insertmacro MUI_UNPAGE_CONFIRM
!insertmacro MUI_UNPAGE_INSTFILES
!insertmacro MUI_UNPAGE_FINISH インストール/
;Languages

  !insertmacro MUI_LANGUAGE "Japanese"
インストーラーの言語は日本語にしたいので、
;--------------------------------
;Installer Sections

Section

  SetOutPath "$INSTDIR"

  ;ADD YOUR OWN FILES HERE...
  ;https://openclipart.org/detail/159703/penguin-|-pinguino
  File Twitter-Penwin.svg

  ;Store installation folder
  WriteRegStr HKCU "Software\image-installer" "" $INSTDIR

  ;Create uninstaller
  WriteUninstaller "$INSTDIR\Uninstall.exe"

SectionEnd
重要なのは"File"行で、
;Uninstaller Section

Section "Uninstall"

  ;ADD YOUR OWN FILES HERE...
  Delete "$INSTDIR\Uninstall.exe"
  Delete "$INSTDIR\Twitter-Penwin.svg"

  DeleteRegKey /ifempty HKCU "Software\imaage-installer"

SectionEnd
アンインストールで重要なのは"Delete"行で、
コメントも含めて100行にも満たないスクリプトですが、
サンプルスクリプトその2:レジストリ変更ツール
WindowsでNATトラバーサルを有効にするためには、
ということで次のサンプルはレジストリの変更ツールです。以下のコードをファイル名"nat-t_
次のコマンドを実行して、
makensis nat-t_reg.nsi
コードをいくつか解説します。
;General

  ;Name and file
  Name "NATトラバーサル対応レジストリ変更ツール"
  OutFile "nat-t_reg.exe"

  ;Request application privileges for Windows Vista
  RequestExecutionLevel admin
今回はAdministrator権限が必要なため、
;Interface Settings
!define MUI_ABORTWARNING
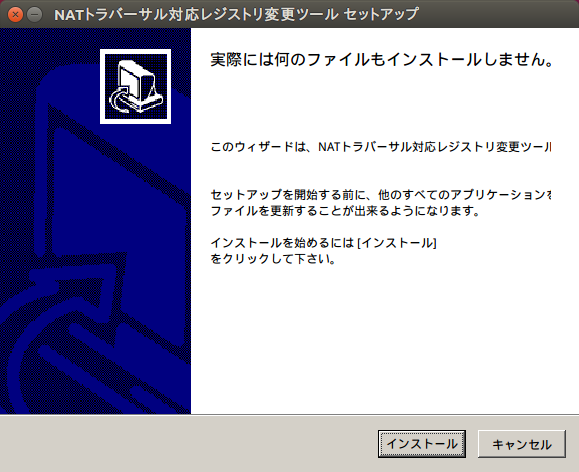
!define MUI_WELCOMEPAGE_TITLE '実際には何のファイルもインストールしません。'
!define MUI_WELCOMEPAGE_TITLE_3LINES注意を追加するため、
Section
ClearErrors
ReadRegDWORD $0 HKLM "SYSTEM\CurrentControlSet\Services\PolicyAgent" "AssumeUDPEncapsulationContextOnSendRule"
${If} ${Errors}
WriteRegDWORD HKLM "SYSTEM\CurrentControlSet\Services\PolicyAgent" "AssumeUDPEncapsulationContextOnSendRule" "2"
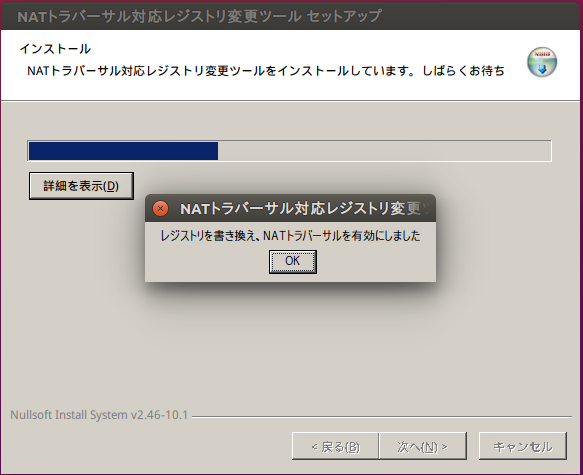
MessageBox MB_OK "レジストリを書き換え、NATトラバーサルを有効にしました"
${Else}
${IF} $0 == ""
WriteRegDWORD HKLM "SYSTEM\CurrentControlSet\Services\PolicyAgent" "AssumeUDPEncapsulationContextOnSendRule" "2"
MessageBox MB_OK "レジストリを書き換え、NATトラバーサルを有効にしました"
${ELSE}
MESSAGEBOX MB_OK "すでに値が書き込まれているため何もしません。現在の値は $0 です"
${ENDIF}
${EndIf}
SectionEndここもサンプルコードを参考にしているのですが、
Ubuntu上では何の効果もありませんが、